


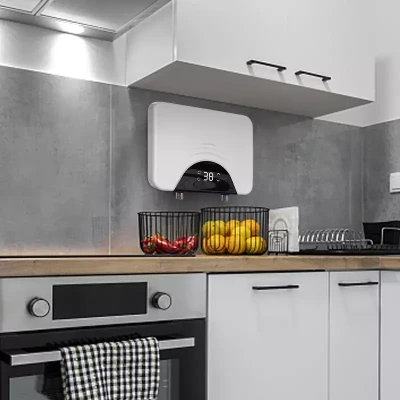
Hey there! As a supplier of 50L Electric Geysers, I often get asked about how to check the insulation of these appliances. A well - insulated electric geyser is crucial as it not only helps in conserving energy but also ensures the longevity of the unit. In this blog, I'll walk you through the steps to check the insulation of a 50L Electric Geyser.
Why Insulation Matters
Before we dive into the checking process, let's quickly understand why insulation is so important. Good insulation in an electric geyser reduces heat loss. When the heat loss is minimized, the geyser doesn't have to work as hard to maintain the desired water temperature. This means lower energy bills for you and less wear and tear on the heating elements. Over time, a poorly insulated geyser can lead to higher electricity costs and may even cause premature failure of the unit.
Tools You'll Need
To check the insulation of your 50L Electric Geyser, you'll need a few basic tools:
- Multimeter: This is a must - have tool for measuring electrical resistance. Make sure it's set to the appropriate resistance range (usually in mega - ohms).
- Screwdriver: You'll need it to open the access panel of the geyser.
- Safety Gloves and Goggles: Safety first! These will protect you from any electrical shocks or debris.
Step 1: Safety First
Before you start any work on your electric geyser, it's essential to turn off the power supply. Locate the circuit breaker that controls the geyser and switch it off. This will prevent any accidental electrical shocks. Also, make sure to let the water in the geyser cool down for a few hours. Hot water can cause burns if you come into contact with it during the inspection process.
Step 2: Access the Electrical Components
Use your screwdriver to open the access panel on the side of the geyser. The access panel gives you access to the electrical wiring and the insulation. Be careful not to damage any of the wires while removing the panel. Once the panel is off, you'll be able to see the insulation material and the electrical connections.
Step 3: Visual Inspection
Take a good look at the insulation material. Check for any signs of damage, such as cracks, holes, or water stains. Water stains can indicate that there's a leak in the geyser, which could be affecting the insulation. If you notice any damage, it's a clear sign that the insulation needs to be replaced.
Step 4: Measuring Insulation Resistance
Now, it's time to use the multimeter. First, make sure the geyser is still disconnected from the power supply. Locate the insulation resistance test points on the geyser. These are usually marked on the electrical wiring or the control panel. Connect the probes of the multimeter to the test points.
The insulation resistance should be very high, typically in the range of several mega - ohms. A low resistance reading indicates that there's a problem with the insulation. This could be due to moisture ingress, physical damage, or aging of the insulation material.
Step 5: Checking for Ground Faults
In addition to measuring the insulation resistance, it's also important to check for ground faults. A ground fault occurs when an electrical current leaks to the ground through an unintended path. To check for ground faults, you can use a ground fault circuit interrupter (GFCI) tester.
Connect the GFCI tester to the electrical outlet where the geyser is plugged in. If the tester detects a ground fault, it will trip, indicating that there's a problem with the insulation or the electrical wiring.
Step 6: Reassembling the Geyser
Once you've completed the inspection, carefully reassemble the access panel using the screwdriver. Make sure all the electrical connections are secure and that the panel is properly sealed. This will prevent any dust or moisture from getting inside the geyser.
Our Other Great Products
If you're in the market for other types of water heaters, we've got you covered. We offer a range of high - quality products to meet different needs. Check out our Electric Water Heaters For Laboratories And Research Facilities. These are designed to provide a reliable source of hot water for scientific applications.
For cafes and coffee shops, we have the Hot Water Heater For Cafe Coffee Shop. It's perfect for keeping up with the high demand for hot water during peak hours.
Our Performance - Certified Commercial Water Heater For Industrial Kitchen is a great choice for industrial kitchens. It's built to handle heavy - duty use and is performance - certified for your peace of mind.
The Floor - Standing Electric Storage Water Heater is suitable for both residential and commercial settings, offering a large storage capacity.
And if you need a large - scale commercial solution, our Heavy - Duty Commercial Large Storage Water Heater (100L - 500L) is the way to go.


Conclusion
Checking the insulation of your 50L Electric Geyser is a relatively simple process that can save you a lot of money in the long run. By following these steps, you can ensure that your geyser is operating efficiently and safely. If you have any questions or need further assistance, don't hesitate to reach out. We're here to help you make the most of your water heater.
If you're interested in purchasing any of our products, whether it's the 50L Electric Geyser or one of our other great options, we'd love to have a chat about your needs. Contact us to start a purchase negotiation and find the perfect water heater for you.
References
- Electrical Safety Codes for Water Heaters, National Electrical Manufacturers Association.
- Water Heater Maintenance Guide, Consumer Reports.